The Insurance Process After Storm Damage
Storms in the South often bring more than just heavy rain and loud thunder; they can also cause significant damage to your roof. While dealing with the aftermath of a storm can be stressful, filing an insurance claim doesn't have to be.
At RoofLab, we’ve helped countless homeowners work with insurance companies to manage roof damage claims. Here’s a step-by-step guide to help you understand the insurance process after storm damage, so you can move forward with ease.
Before You File an Insurance Claim
It might seem natural to file a claim as soon as you notice storm damage, but taking a few preliminary steps can help ensure a smoother process.
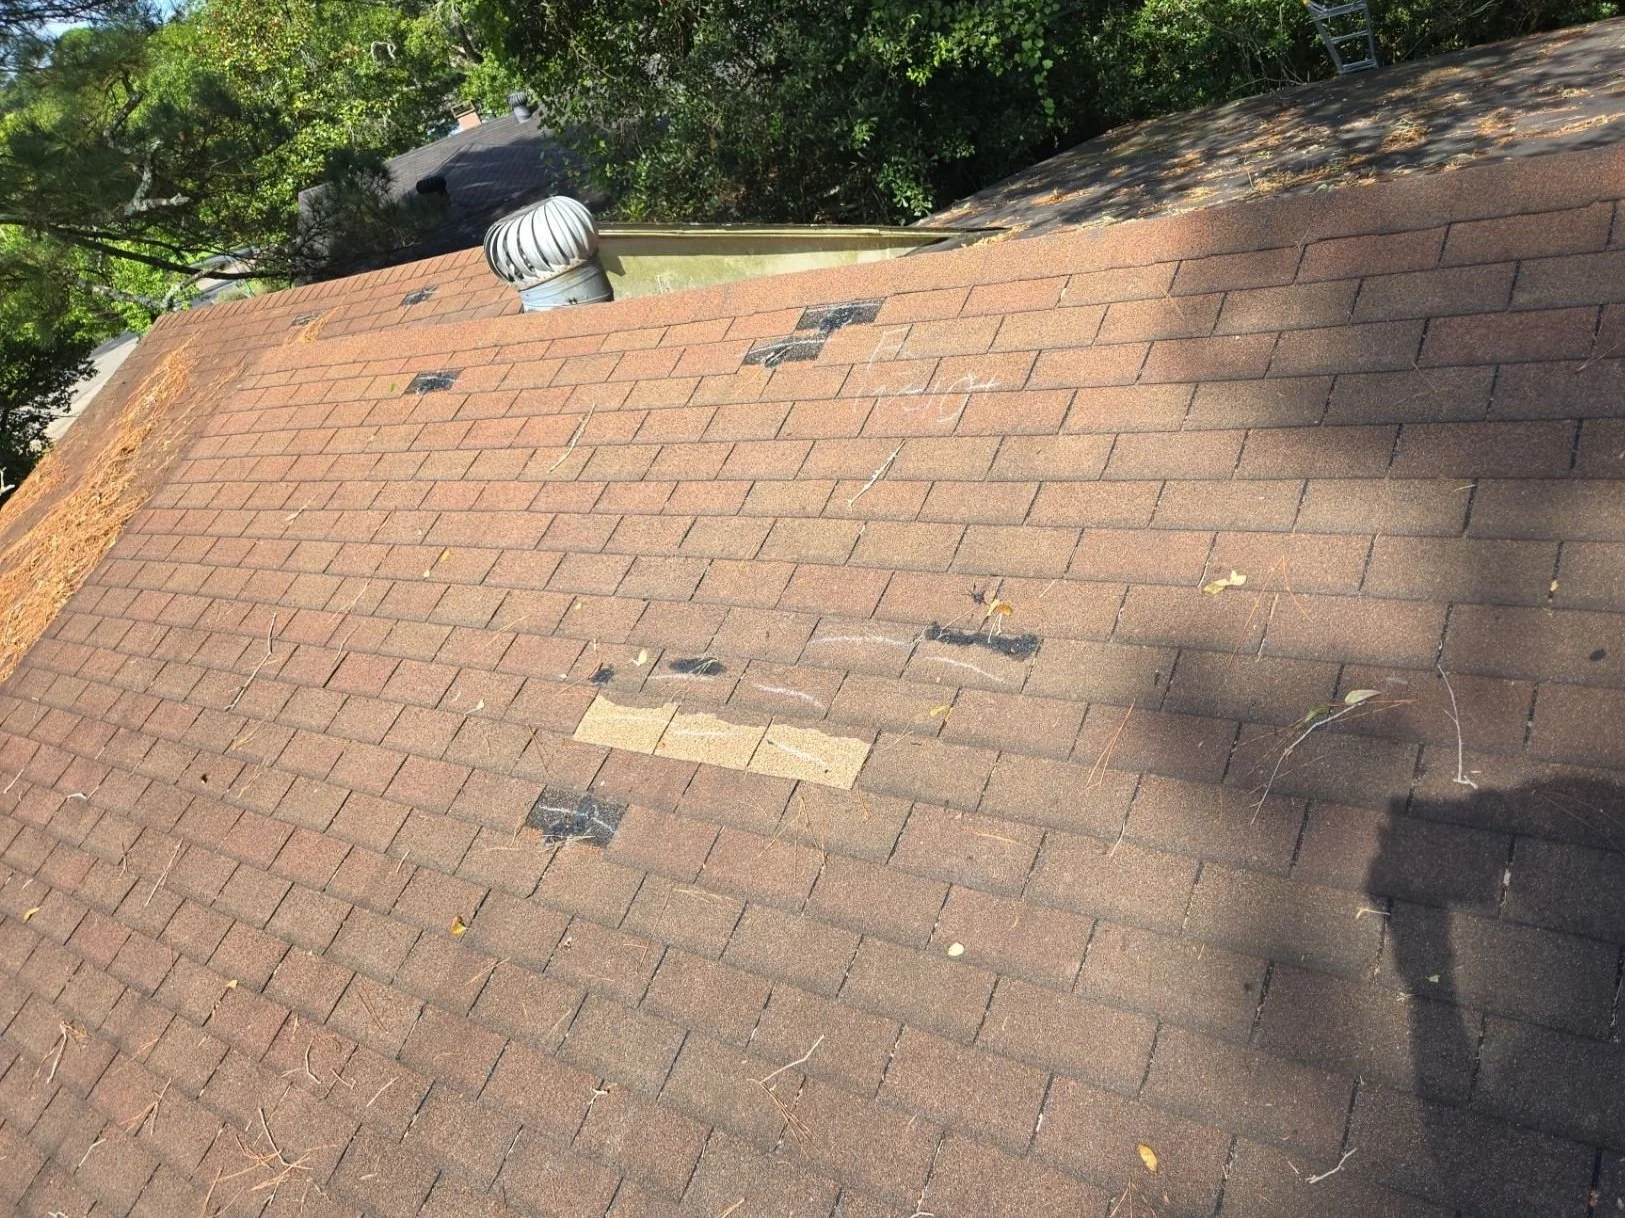
Assess the Damage
After a storm passes, it's crucial to have your roof inspected for any visible signs of damage. Instead of handling this alone, let our team at RoofLab take care of it for you. We'll thoroughly inspect your roof, take all the necessary photos and videos, and document the damage to ensure you have everything needed for your insurance claim. This detailed documentation is crucial in supporting your claim.
Review Your Insurance Policy
Understanding your homeowner's insurance policy is key. While roof damage coverage varies and depends on your specific policy’s terms, most policies typically cover problems that are accidental or caused by certain events. These can include:
Most standard homeowner policies cover damage from:
Falling objects
Hail
Lightning
Wind
Fire
Smoke
Steps to Navigate the Insurance Process
Once you've assessed the damage and reviewed your insurance coverage, it’s time to start the insurance claims process. Here’s how:
Step 1: File an Insurance Claim
Begin by contacting your insurance company to report the storm damage. Provide them with all relevant documentation, including photos and videos. You can manage this step yourself or contact RoofLab for assistance—we can handle the communication with your insurer to streamline the process.
Step 2: Insurance Adjuster Inspection
After you file a claim, your insurance company will send an adjuster to inspect your roof. The adjuster will evaluate the extent of the damage and determine if it falls under your coverage. They will then provide an estimate for repairs or replacements.
Step 3: Claim Approval
If the adjuster confirms that the damage is covered by your policy, your insurance company will approve the claim. You’ll receive an estimate outlining the costs and the amount the insurance will cover. Keep in mind that this amount may be adjusted based on your deductible.
Step 4: Hire a Roofing Contractor
With the claim approved, it’s time to hire a roofing contractor to carry out the repairs. At RoofLab, our experienced team specializes in residential roofing and commercial roofing storm damage repairs. We’re committed to restoring your roof’s integrity and will complete the repairs as specified by your insurance company’s estimate, ensuring high-quality workmanship.
Step 5: Finalize the Claim
Once the repairs are complete, submit proof of the work—such as invoices for materials and labor—to your insurance company. They will issue the final settlement payment, concluding your claim process.
Partnering with RoofLab for a Smooth Insurance Experience
Handling storm damage and navigating the insurance claims process can be daunting, but you don’t have to do it alone. RoofLab is here to guide you every step of the way, ensuring the process is as straightforward and stress-free as possible.
Visit our location pages for more information about our services in Jacksonville, Nashville, Mobile, Melbourne, Savannah, Atlanta, and Murfreesboro.
Contact RoofLab today for trusted roofing services and support through every stage of your insurance claim!